Make Solar Tracker Without Arduino

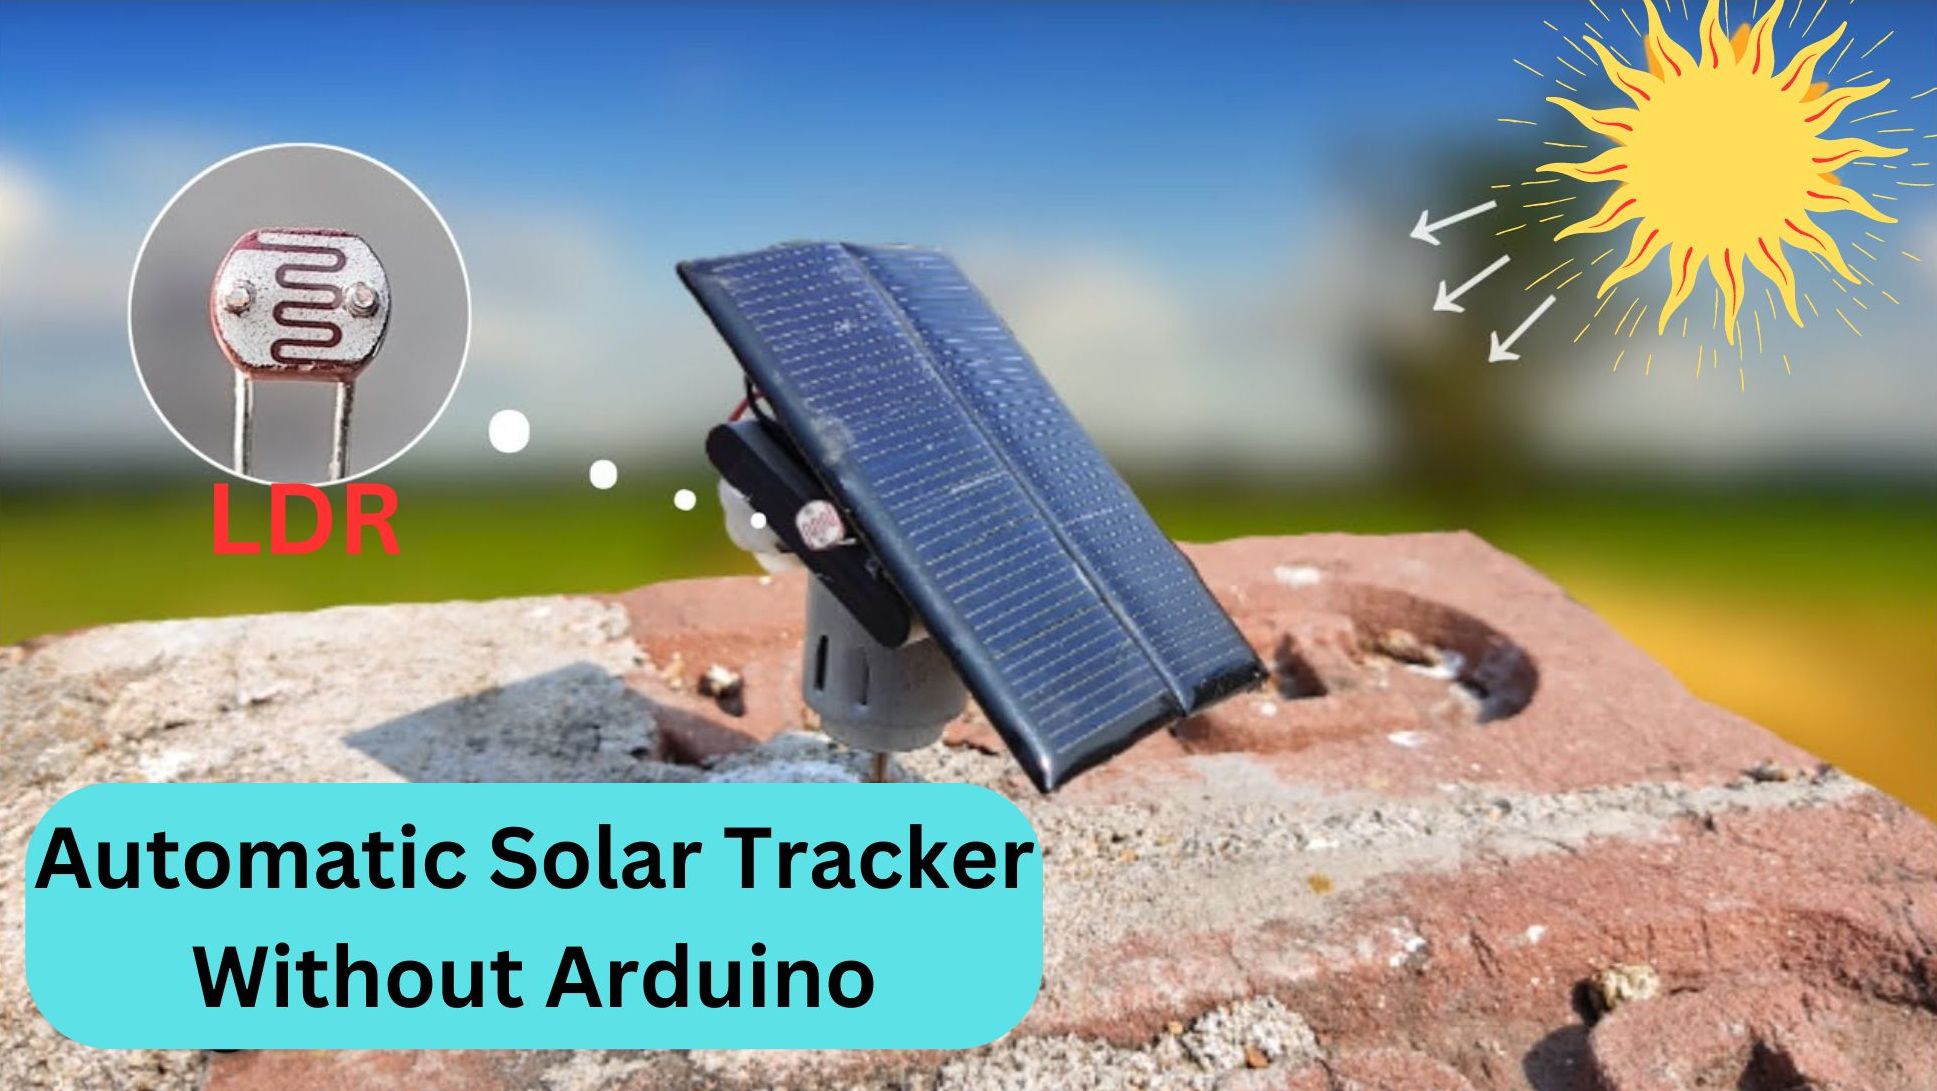
Hello readers in this project we will see how to make Solar Tracker without using Arduino.
This is an amazing project you must try to build for your science project or mini-engineering projects.
The inspiration for this project came from the Solar array of panels that I have seen when I was traveling.
How cool is it for a device to track the moment along with the moment of the sun?
The much cooler thing is we are doing this fully working model without using Arduino.
I have provided a complete circuit diagram and a full explanation of this project along with the working video.
You may also like our DC Motor making project.
Why Make Automatic Solar Tracker
The reason is simple this small invention will help the solar panels harness the energy of the sun as much as possible.
As we know due to the rotation of the earth the position of the sun changes.
If any of your devices is running with solar panels then without the sun tracking its efficiency would be very low.
This is because if your device or a solar panel faces the sun at 10 am by 12 pm the sun would be completely in a different position.
The solar panel works best only when the sun directly hits the solar panel, maximizing the photon absorption.
We will start the project by gathering the materials.
Supplies for making Automatic Solar Tracking Device
- LDR x2
- TDA 2822
- Solar Panel
- DC motor
- Third wheel
- Hot Glue
- Couple of wires
- Soldering iron

From the above visual you already know the materials, most of the items are available very easily.
You can just head over to the local electronics shop or just get them online.
Gather all these materials first so they become handy while building a project.
Circuit Diagram for Automatic Solar Tracker without Arduino
This is the circuit we are using to build this solar tracker.
Get some wires and start soldering the components one by one.
It took me around 5 minutes to make this circuit and you can too.

Here to make the circuiting easier I will connect 5 and 7 together first using a piece of wire.
Also, connect pins 6 and 8 with a piece of wire, pins 1 and 3 will be connected to the dc motor.
Circuit after Assembling all Components
After all the basic soldering is complete we can add solar panels.
I added a switch to the battery so it becomes easy to on and off the circuit whenever necessary.
The LDR will be placed on either side so it can capture the sunlight effectively.
Trim the excess hanging wires to make the circuit neat

You can test if this circuit works as expected using the mobile flashlight.
Point the light towards LDR and your dc motor should make some movement.
Finishing the Automatic Solar Tracker
You know what is the advantage of making Automatic solar tracking without using Arduino.
You can see it below, the circuit becomes very small.
Yeah, I agree with the use of PCB The circuit can be even smaller but as this is a prototype this is more than enough.
The battery that I got from my old phone serves as the stand.
Use mild hot glue to attach the DC motor to the base of the battery.
For holding all these setups together I made use of a stand that fit my size DC motor shaft.

While finishing make a note that the LDR is free from any objects that might block the light.
The final project will look like this visual below.
How to use an automatic solar tracker
Using this project is very simple, just switch on the button and take your project outside.
When the LDR detects the sunlight the solar panel setup directs towards the sun.
So what exactly is happening to cause this to work?
As we know Light Dependent Resistor works by utilizing the varying resistance of the LDRs.
The main goal of this project is to direct the solar panels towards the exact direction of the sun throughout the day to maximize sunlight exposure.
And this happens considering the intensity of light they receive, so we have 2 LDR.

This was all about making a solar tracker without Arduino, you can build this project for your upcoming exhibitions.
How to make a solar tracker without Arduino Complete Video here and thank you Pendtec for this Idea.
Thank you for showing interest in this project, Read our other interesting projects also you will like it.
As an Amazon Associate, I earn commission from qualifying purchases.


