Hello readers in this post we will see how to use nodemcu web server led control.
If you are making an IOT project then it is essential to learn the basic component control using Nodemcu.
A video of web server LED control using a smartphone is given at the end.
Why use Nodemcu for IoT Projects?
Now you may ask why only Nodemcu, it is the inexpensive board with in-built Wi-Fi that opens up options to a new world of creativity.
Before being creative if you are a beginner to the world of Nodemcu and IoT we encourage you to go through this tutorial.
By the end of this project, you will know how to use ESP8266 with LED control via web server.
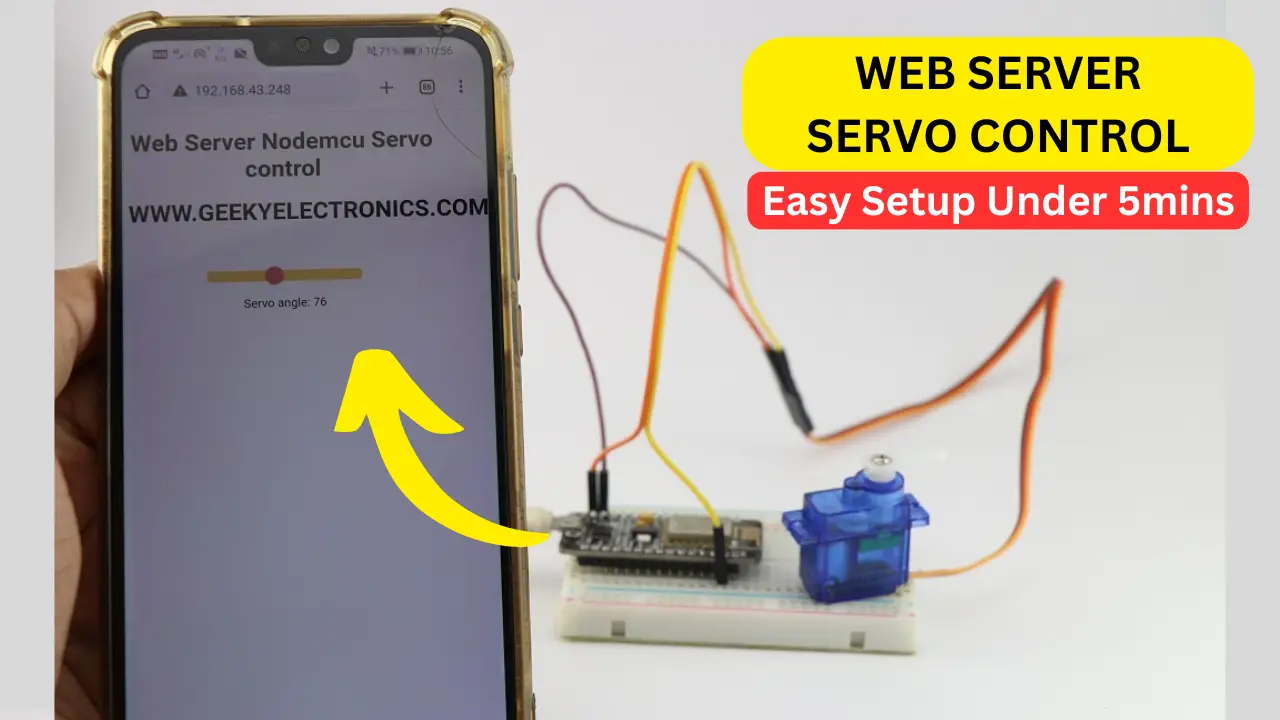
Don’t miss to check our earlier web server servo control with Nodemcu
Materials
- ESP8266 or Nodemcu
- Breadboard and Jumper wires
- 3 LED(Color of your own choice)
- Phone with Wi-Fi option
Web server led control using Nodemcu circuit diagram
The circuit is very basic and can be made by a beginner in no time.

Since we are using 3 LEDs I prefer to make this circuit on a small breadboard.
The positive end of the LED will go to pins D1, D2, and D4 of Nodemcu.
The negative end is connected to Gnd and I used a 10k resistor in between these connections.
After you finish this basic circuit we can head over to programming the board.

The circuit after you make the connections will look like this.
I directly made use of the LED pins for connections.
Connect the programming cable to the Nodemcu board and open Arduino IDE on the computer.
Copy and paste the below program to the IDE, Select ESP8266.
Replace the Wifi Credential with your name and SSID of your Wi-Fi and upload the program.
Nodemcu led control with web server code
#include <ESP8266WiFi.h>

// Enter your wifi network name and Wifi Password
const char* ssid = "geekyelectronics.com";
const char* password = "geekyMan@143";

// Set web server port number to 80
WiFiServer server(80);

// Variable to store the HTTP request
String header;

// These variables store current output state of LED
String outputRedState = "off";
String outputGreenState = "off";
String outputYellowState = "off";

// Assign output variables to GPIO pins
const int redLED = 2;
const int greenLED = 4;
const int yellowLED = 5;

// Current time
unsigned long currentTime = millis();
// Previous time
unsigned long previousTime = 0;
// Define timeout time in milliseconds (example: 2000ms = 2s)
const long timeoutTime = 2000;

void setup() {
Serial.begin(115200);
// Initialize the output variables as outputs
pinMode(redLED, OUTPUT);
pinMode(greenLED, OUTPUT);
pinMode(yellowLED,OUTPUT);
// Set outputs to LOW
digitalWrite(redLED, LOW);
digitalWrite(greenLED, LOW);
digitalWrite(yellowLED, LOW);

// Connect to Wi-Fi network with SSID and password
Serial.print("Connecting to ");
Serial.println(ssid);
WiFi.begin(ssid, password);
while (WiFi.status() != WL_CONNECTED) {
delay(500);
Serial.print(".");
}
// Print local IP address and start web server
Serial.println("");
Serial.println("WiFi connected.");
Serial.println("IP address: ");
Serial.println(WiFi.localIP());
server.begin();
}

void loop(){
WiFiClient client = server.available(); // Listen for incoming clients

if (client) { // If a new client connects,
Serial.println("New Client."); // print a message out in the serial port
String currentLine = ""; // make a String to hold incoming data from the client
currentTime = millis();
previousTime = currentTime;
while (client.connected() && currentTime - previousTime <= timeoutTime) { // loop while the client's connected
currentTime = millis();
if (client.available()) { // if there's bytes to read from the client,
char c = client.read(); // read a byte, then
Serial.write(c); // print it out the serial monitor
header += c;
if (c == '\n') { // if the byte is a newline character
// if the current line is blank, you got two newline characters in a row.
// that's the end of the client HTTP request, so send a response:
if (currentLine.length() == 0) {
// HTTP headers always start with a response code (e.g. HTTP/1.1 200 OK)
// and a content-type so the client knows what's coming, then a blank line:
client.println("HTTP/1.1 200 OK");
client.println("Content-type:text/html");
client.println("Connection: close");
client.println();

// turns the GPIOs on and off
if (header.indexOf("GET /2/on") >= 0) {
Serial.println("RED LED is on");
outputRedState = "on";
digitalWrite(redLED, HIGH);
} else if (header.indexOf("GET /2/off") >= 0) {
Serial.println("RED LED is off");
outputRedState = "off";
digitalWrite(redLED, LOW);
} else if (header.indexOf("GET /4/on") >= 0) {
Serial.println("Green LED is on");
outputGreenState = "on";
digitalWrite(greenLED, HIGH);
} else if (header.indexOf("GET /4/off") >= 0) {
Serial.println("Green LED is off");
outputGreenState = "off";
digitalWrite(greenLED, LOW);
} else if (header.indexOf("GET /5/on") >= 0) {
Serial.println("Yellow LED is on");
outputYellowState = "on";
digitalWrite(yellowLED, HIGH);
} else if (header.indexOf("GET /5/off") >= 0) {
Serial.println("Yellow LED is off");
outputYellowState = "off";
digitalWrite(yellowLED, LOW);
}

// Display the HTML web page
client.println("<!DOCTYPE html><html>");
client.println("<head><meta name=\"viewport\" content=\"width=device-width, initial-scale=1\">");
client.println("<link rel=\"icon\" href=\"data:,\">");
// CSS to style the on/off buttons
client.println("<style>html { font-family: Helvetica; display: inline-block; margin: 0px auto; text-align: center;}");
client.println(".buttonRed { background-color: #ff0000; border: none; color: white; padding: 16px 40px; border-radius: 60%;");
client.println("text-decoration: none; font-size: 30px; margin: 2px; cursor: pointer;}");
client.println(".buttonGreen { background-color: #00ff00; border: none; color: white; padding: 16px 40px; border-radius: 60%;");
client.println("text-decoration: none; font-size: 30px; margin: 2px; cursor: pointer;}");
client.println(".buttonYellow { background-color: #feeb36; border: none; color: white; padding: 16px 40px; border-radius: 60%;");
client.println("text-decoration: none; font-size: 30px; margin: 2px; cursor: pointer;}");
client.println(".buttonOff { background-color: #77878A; border: none; color: white; padding: 16px 40px; border-radius: 70%;");
client.println("text-decoration: none; font-size: 30px; margin: 2px; cursor: pointer;}</style></head>");

// Web Page Heading
client.println("<body><h1>LED Control Server</h1>");
client.println("<body><h2>WWW.GEEKYELECTRONICS.COM</h2>");

// Display current state, and ON/OFF buttons for GPIO 2 Red LED
client.println("<p>Red LED is " + outputRedState + "</p>");
// If the outputRedState is off, it displays the OFF button
if (outputRedState=="off") {
client.println("<p><a href=\"/2/on\"><button class=\"button buttonOff\">OFF</button></a></p>");
} else {
client.println("<p><a href=\"/2/off\"><button class=\"button buttonRed\">ON</button></a></p>");
}

// Display current state, and ON/OFF buttons for GPIO 4 Green LED
client.println("<p>Green LED is " + outputGreenState + "</p>");
// If the outputGreenState is off, it displays the OFF button
if (outputGreenState =="off") {
client.println("<p><a href=\"/4/on\"><button class=\"button buttonOff\">OFF</button></a></p>");
} else {
client.println("<p><a href=\"/4/off\"><button class=\"button buttonGreen\">ON</button></a></p>");
}
client.println("</body></html>");

// Display current state, and ON/OFF buttons for GPIO 5 Yellow LED
client.println("<p>Yellow LED is " + outputYellowState + "</p>");
// If the outputYellowState is off, it displays the OFF button
if (outputYellowState =="off") {
client.println("<p><a href=\"/5/on\"><button class=\"button buttonOff\">OFF</button></a></p>");
} else {
client.println("<p><a href=\"/5/off\"><button class=\"button buttonYellow\">ON</button></a></p>");
}
client.println("</body></html>");

// The HTTP response ends with another blank line
client.println();
// Break out of the while loop
break;
} else { // if you got a newline, then clear currentLine
currentLine = "";
}
} else if (c != '\r') { // if you got anything else but a carriage return character,
currentLine += c; // add it to the end of the currentLine
}
}
}
// Clear the header variable
header = "";
// Close the connection
client.stop();
Serial.println("Client disconnected.");
Serial.println("");
}
}
You can play with some functions on the program like the color of the interface.
You can even set the brightness value and other features.
Take your time to read the program and you will soon get the places to make these changes.
After you finish this step our web server is ready, and connecting is simple and easy.
How to use Nodemcu web server on a phone
Connect the USB cable to nodemcu board, On board LED indicates the power on.
This creates a Wi-Fi connection and you can connect to this Wi-Fi.
After the connection is complete open the connected devices and make a note of your board IP
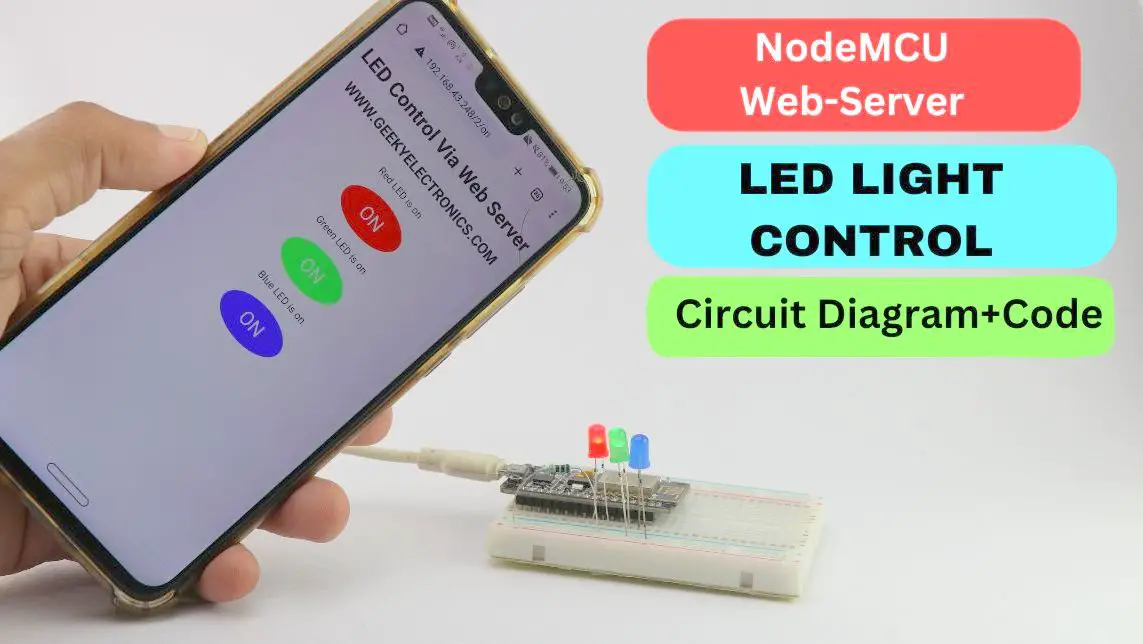
Paste this IP on your smartphone browser and click on search, an interface will open up.
The view of that interface shown here in the below image.

The control panel provides you the option to switch on and off LED.
You can customize the display message on the codes like you want on the web server.
The LED are now controlled at the click of a button on your smartphone.
Hope you found this project informative, if you have any questions ask us in the comments.
As an Amazon Associate, I earn commission from qualifying purchases.